Complete Guide to Mail Merge Personalization in Gmail [Updated 2026]
![Complete Guide to Mail Merge Personalization in Gmail [Updated 2026]](https://sendhustle-blog-images.s3.ap-south-1.amazonaws.com/blog/mail-merge-personalization/Featured-image-guide-to-personalization-96kb.webp)
Mail merge personalization turns one email template into hundreds of customized individual messages.
Instead of sending identical text to everyone, you put placeholders in your template (like {FirstName} or {CompanyRevenue} or {PersonalAnecdote}. Then, your email software takes a spreadsheet or database where you’re storing that info for each contact and inserts it into an email.
That way, every email reads as though you wrote it just for that person.
In Gmail, you connect a Google Sheet (or your contacts) to a draft and drop in merge tags that get swapped per recipient at send time.
GMass is a Chrome extension that adds mail merge personalization to Gmail using Google Sheets to hold your contact’s info.
(Note: Gmail offers a VERY limited mail merge on some of its most expensive Google Workspace plans.)
GMass offers a number of ways to personalize the Subject and Message of your mail merge campaigns sent with Gmail. From basic mail-merge style personalization to fallback values to automatic-first-name detection and even personalized images, links, and attachments, this guide takes you through all of the options.
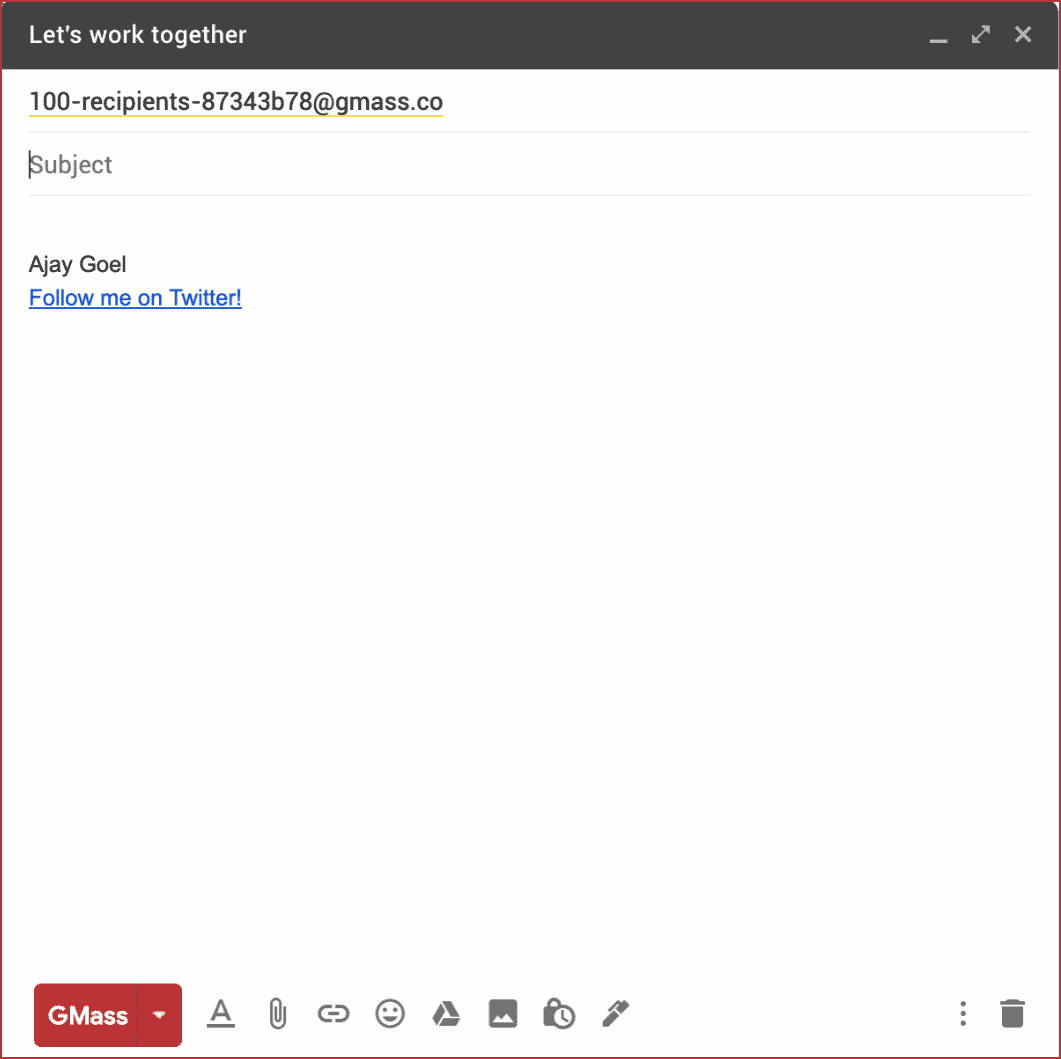
Simple Personalization: How to Send Mass Emails with Personal Names in Gmail
GMass personalization runs along a spectrum — first name, fallbacks, automatic detection, then fully conditional content. Here’s the range, simplest first.
To personalize a mass email with GMass, put a merge tag in curly brackets wherever a recipient’s detail should appear — {FirstName}, or the exact name of any column in your Google Sheet. GMass swaps each tag for that recipient’s value at send.
At the most basic level, you can use {FirstName} and {LastName} to personalize emails if you’re sending to email addresses that are your existing Gmail Contacts, meaning people with whom you’ve had prior email conversations. Your Gmail Contacts contain names along with email addresses. (By the way, “Gmail contacts” and “Google contacts” are the same thing.)
If you’re connecting to a Google Sheet, then you can use any column from the spreadsheet to personalize, like {Company}, {LastPurchase}, or {DateOfBirth} for example, assuming that your spreadsheet contains the columns Company, LastPurchase, and DateOfBirth.
You can use these simple personalization variables in the Subject and Message.
When you use GMass, there are two easy ways to insert merge tags to create a Gmail mail merge campaign.
1. GMass provides a dropdown menu in the Settings panel to insert personalization variables.

Choose a personalization tag, and it will be copied to your clipboard so you can easily paste it into your Subject or Message.
2. You can also just type a left curly bracket anywhere and you’ll instantly get a dropdown from which you can choose your merge tag.
Just type a left curly bracket character anywhere and you’ll get a dropdown for simple merge tag insertion. Of course, you can also just manually type the personalization tag surrounded by curly brackets, but that’s prone to typos.
Fallback Values
To avoid a blank when a recipient is missing a value, add a fallback after a pipe. For example, {FirstName|Friend} uses the first name when you have it in your Google Sheet, and uses “Friend” when you don’t.
Google Sheets vs Gmail Contacts/Google Contacts
If you’re connecting to a Google Sheet, then the Personalization dropdown in the GMass Settings Box will contain an option for each column heading in your spreadsheet. If you are not connecting to a spreadsheet, then you’ll just get the standard FirstName, LastName, EmailAddress personalization options, where the values correspond to the email addresses and names of your Gmail Contacts.
Multi-Word Names
Personalized mass emails can get tricky when the names associated with your Gmail Contacts have not just two words, but three or four words. This is especially common in East Asian cultures. But there is a solution.
Rather than FirstName and LastName, which will use the first word of the name and the last word of the name, you can instead use the syntax {Name1}, {Name2}, {Name3}, and {Name4}. Name1 corresponds to the first word in the name, Name2 to the second word, and so on.
For example, if you are sending to a Gmail Contact that looks like:
<loh@twitter.com> “Loh Kin Poh”
Asian convention dictates that you address someone by all three words of the name, so in this case you would use:
Dear {Name1} {Name2} {Name3}:
at the beginning of your message.

Automatic First Name Detection
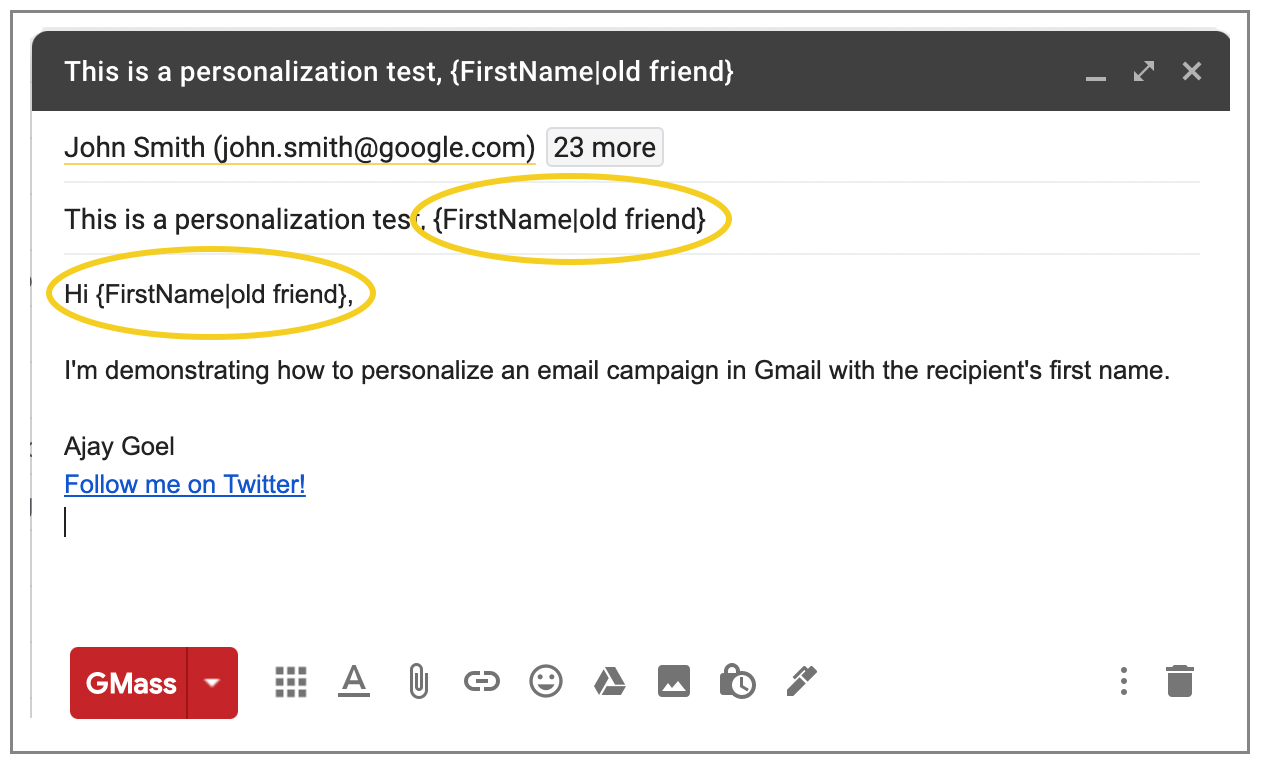
When your list has email addresses but no names, {auto-first} has GMass infer the first name from the address itself, so you can still open with a name without a name column.
Yes, GMass has developed an algorithm that can accurately detect someone’s first name just from their email address.
To insert the auto-detected first name, use the syntax {auto-first}. Again, you can use this syntax in the Subject and Message. In the example below, we auto-detect the first name and use a fallback value of “old friend” in cases where the first name cannot be detected.

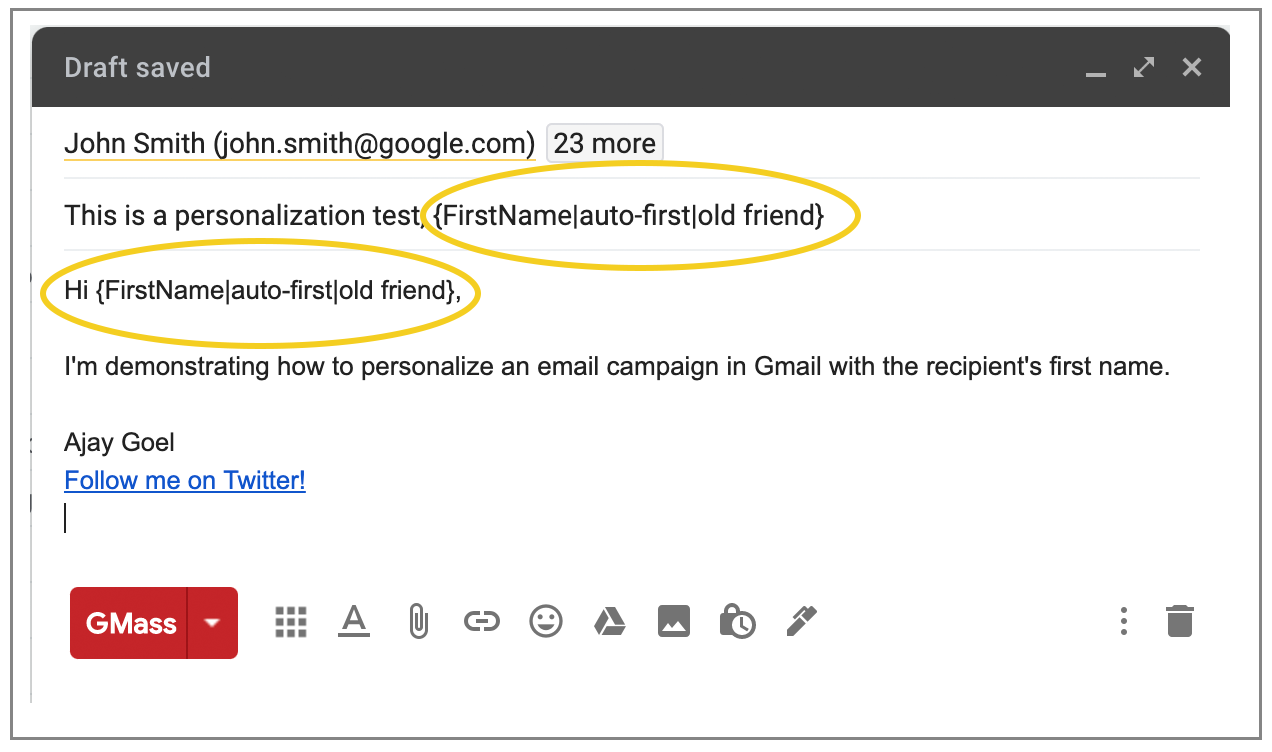
Combining techniques
You can use personalization values along with auto first name detection and fallback values to compose your personalized emails. For example, let’s say you’re using a spreadsheet with these columns:
FirstName
LastName
Email
Some of the FirstName values are blank. So for those, you want GMass to auto detect the first name. And in cases where GMass cannot auto detect the first name, you want to use “old friend”. In that case, the syntax would look like:
Hi {FirstName|auto-first|old friend}:
The personalization tokens are tried in the order they are placed inside the curly brackets. Fallback values should be separated by the pipe symbol ( | ).
Conditional Content
Conditional content shows or hides whole sentences and paragraphs, so one campaign can send different messages to different segments without building separate campaigns.
You can use If/Then and other statements in your Subject and Message to hyper personalize content based on any criteria you have associated with each email address. Read our full guide on conditional content for personalized emails.
Advanced Personalization: How to Personalize an Email in Gmail with the Recipient’s Name, Image, Attachments, and More
Along with the techniques above, you can also:
- Personalize links and URLs for each recipient, including anchor links, and avoid link breakage that can otherwise occur in the Compose window.
- Personalize attachments by sending individual images, invoices, or documents to each recipient in a mass email.
- Personalize images for each recipient to include a different team logo, pet breed, or astrological sign, etc.
- Personalize large blocks of text according to the needs of each recipient, such as a different promotional offer for different levels of customers, or for customers in different zip codes.
- Send your campaign to a personalized CC or BCC address for each recipient to keep the associated salesperson or distributor in the loop according to their respective territories or accounts.
- Personalize the To header of each individual email so that your contact’s First and Last name appear as part of the To line instead of just their email address.
Testing Personalization
We’ve attempted to make our personalization tools as dummy-proof as possible, but it’s always a good idea to test your Gmail mail merge personalization before sending your actual campaign.
It’s easy to make sure your personalization is working before you send your email to any of your recipients. You can use the Send Test button coupled with Create Draft to do so.
In the Settings box, click the arrow next to the Send Test button and select Create Draft. Enter any email addresses where you’d like to test the personalization. Then click the Send Test button.

When you do this, DRAFTS will be created for each address you put in the test address box. This won’t send any test emails. So even if you don’t own the addresses, you can still see what the email will look like to anyone on your list when you eventually send your personalized mass emails. Just click the “Send Test” button and check your Gmail DRAFTS folder.
Also note that:
- GMass will pop-up a warning if you use merge tags in your campaign that aren’t actually a part of your campaign.
- GMass will also automatically correct the issue of HTML tags sneaking inside your merge tags.
One more note: Here’s a guide to personalization if you don’t have any data on your contacts.
Troubleshooting
Still having trouble getting mail merge personalization to work? See our top personalization mistakes and how to avoid them.
GMass is the only tool for marketing emails, cold emails, and mail merge — all inside Gmail. Tons of power but easy to learn and use.
TRY GMASS FOR FREE
Download Chrome extension - 30 second install!
No credit card required

Ajay is the founder of GMass and has been developing email sending software for 20 years.